
 V4mp Wiki
Mortal Shell II Lost Clotstone Location
This page includes story or boss spoilers.
On this page
Defeat The Lost Child to receive Lost Clotstone. The boss waits at the end of Sanguine Caverns, beyond Ruk and the narrow opening into the shoreline arena. Lost Clotstone is the boss reward; you do not need to search a separate chest for it.
Reach The Lost Child
Follow Sanguine Caverns through to the shoreline and the approach to the boss. Ruk stands near the final passage. Speak with him, then squeeze through the crack in the wall to enter the arena.
There is a Tiel summon on the approach. It costs a Glimpse. If you want to learn the fight first, enter without spending one; summon help on a later attempt if you need room to recover.
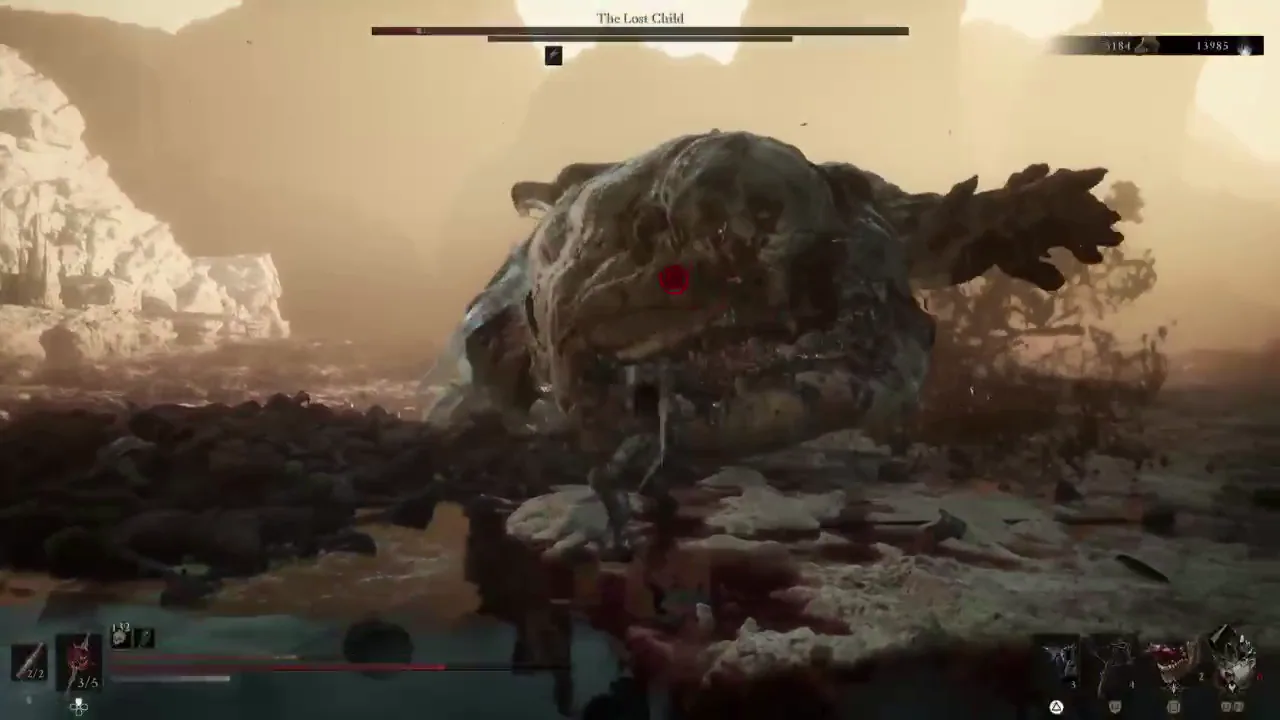
Attacks to watch
| Tell | Response |
|---|---|
| Chin lifts before a downward slam | Prepare a parry as the chin comes down. |
| Hand moves outward for a sweep | Watch the hand rather than the boss’s whole body to read the incoming hit. |
| Red warning followed by a forward dive | Move sideways and dodge the landing. |
| Red warning before a wide ranged attack | Keep moving laterally; do not attempt to parry the warning attack. |
| Three successive bites | Keep defending through the whole sequence before retaliating. |
Use the recovery after a finished attack to land a short punish. Leave enough time to respond to the next tell rather than committing to a long string in front of the boss.
Claim and equip Lost Clotstone
The reward notification names Lost Clotstone when the fight ends. Check the Ability section of the Tarstones menu afterward.
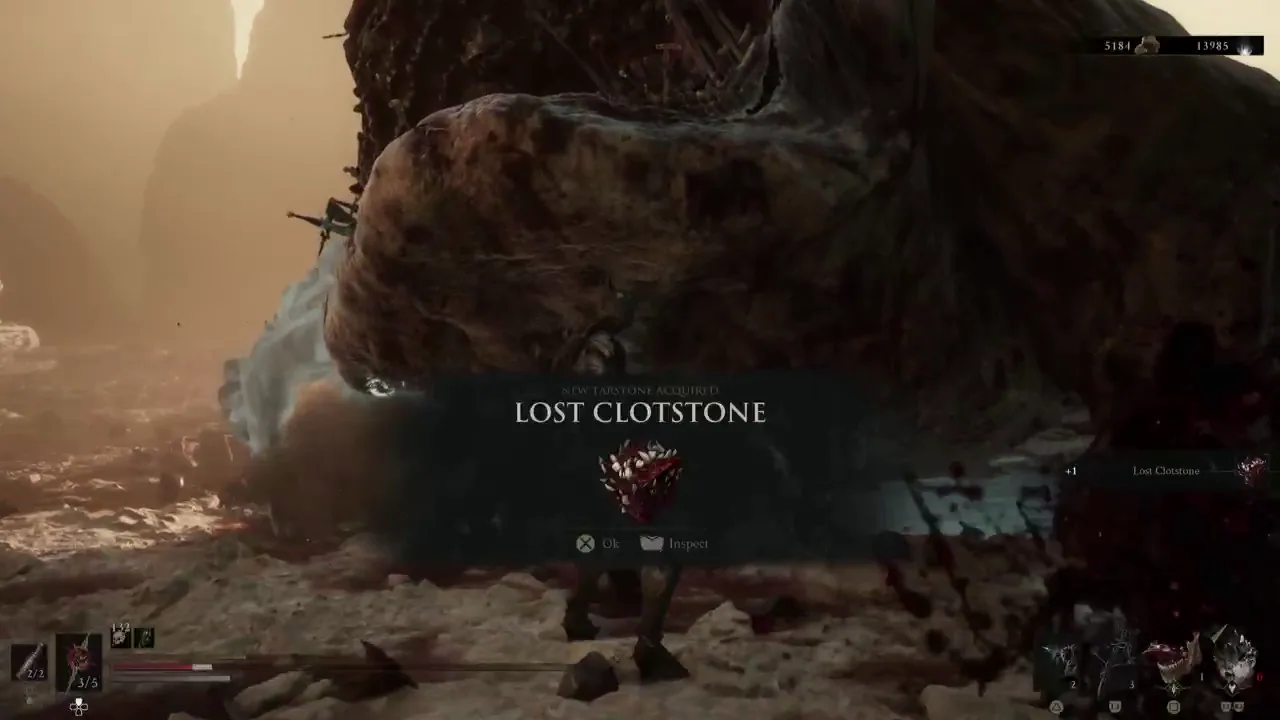
This stone spends Resolve to throw your weapon. It is compatible with Obsidian Hammer and Veteran’s Battle Axe. If your current weapon will not accept it, change to one of those weapons before selecting the stone.
Pick up the nearby Blackmarrow Key
The victory also opens the Child’s Feeding Grounds Beacon. Its dungeon contains a separate key chest behind the Ova. Follow the Blackmarrow Key route to collect that reward as well.