V4mp

Explore V4mp

Movies and TV are on the way. They are not open yet.

Find your next route. Get back to playing.

Mortal Shell II Tarstone locations

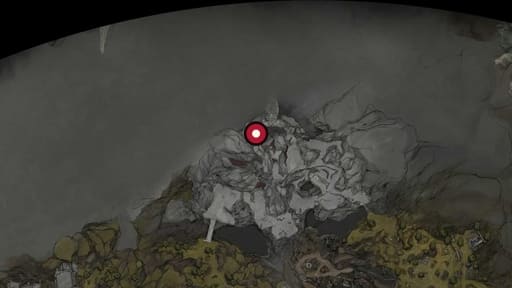
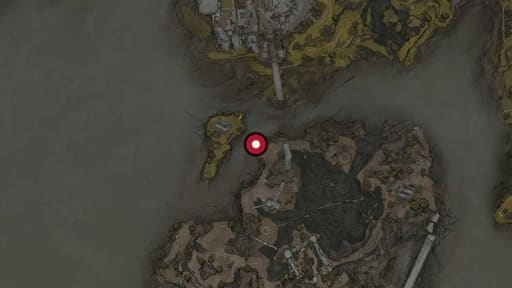
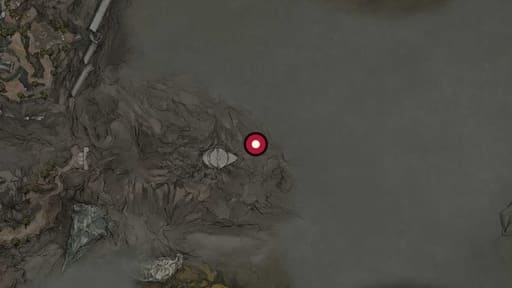
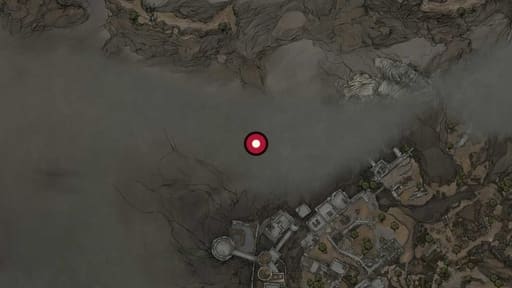
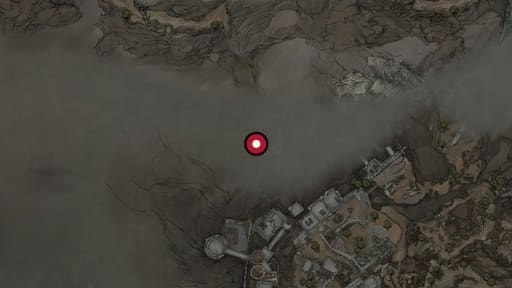
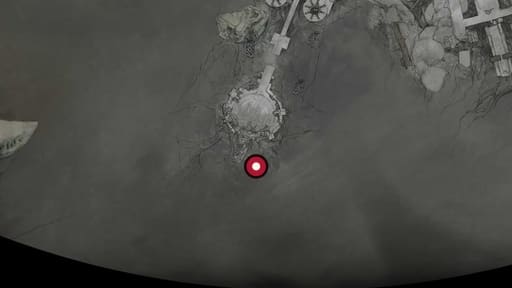
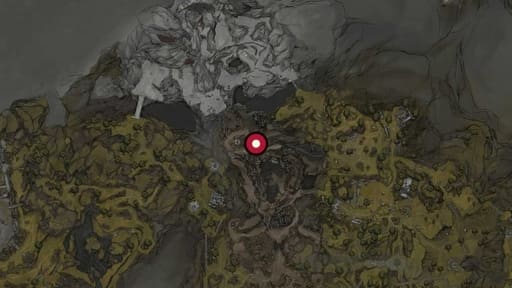
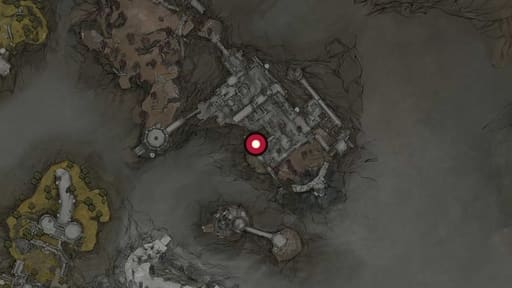
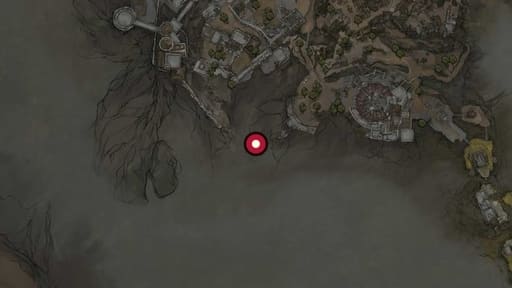
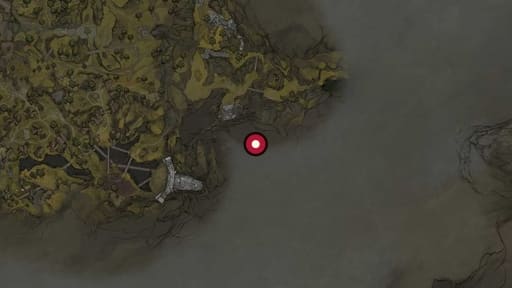
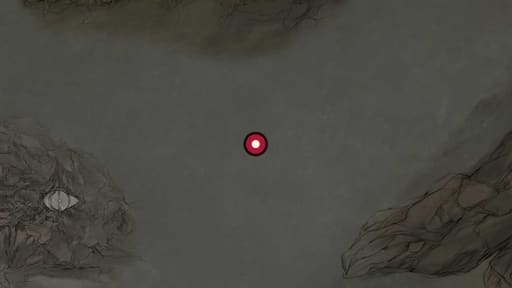
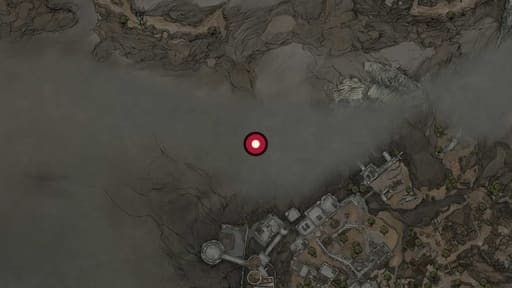
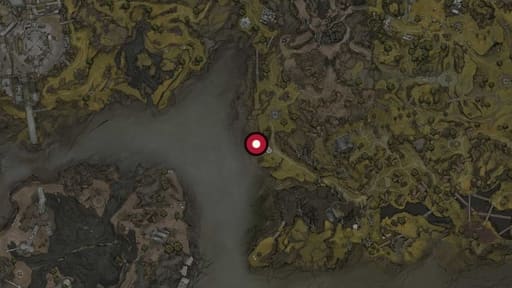
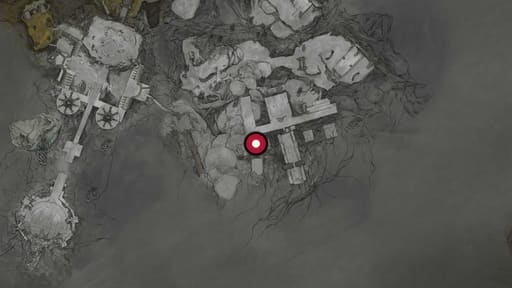
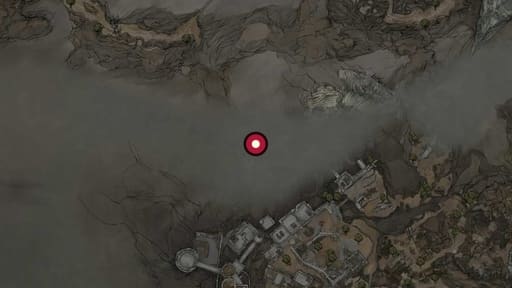
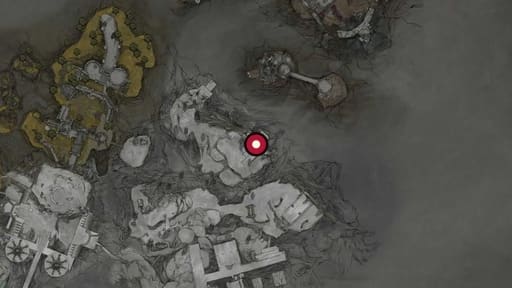
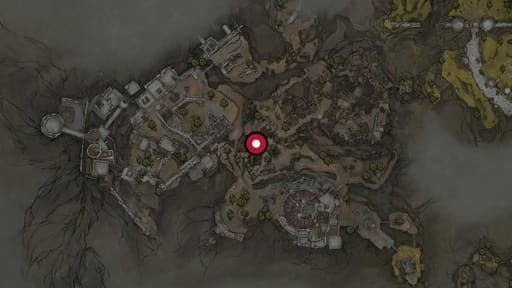
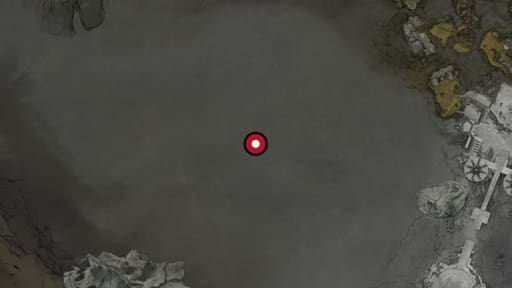
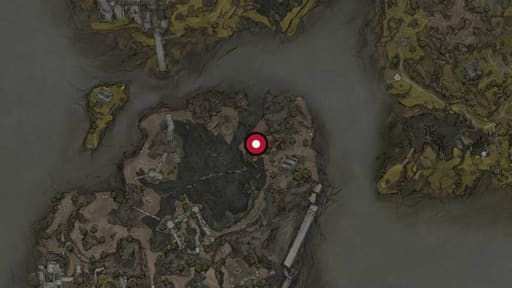
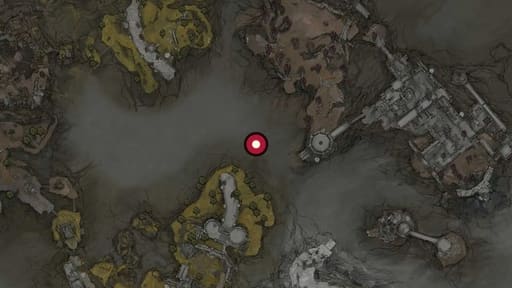
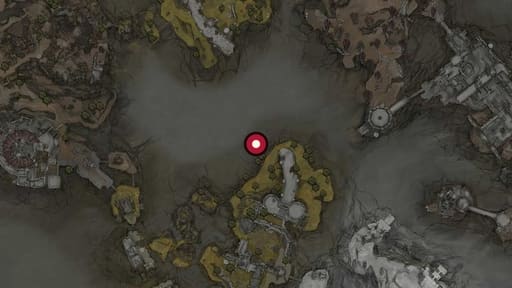
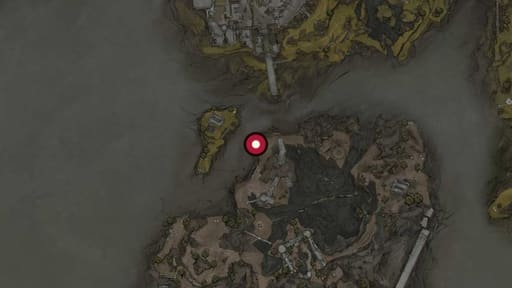
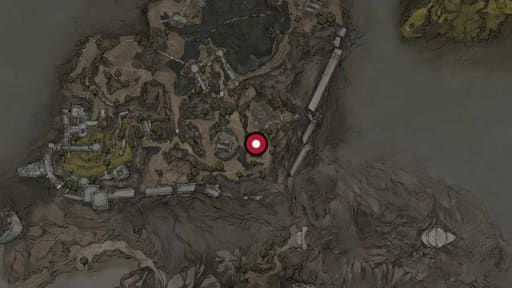
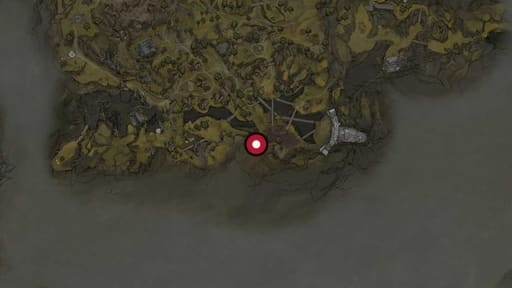
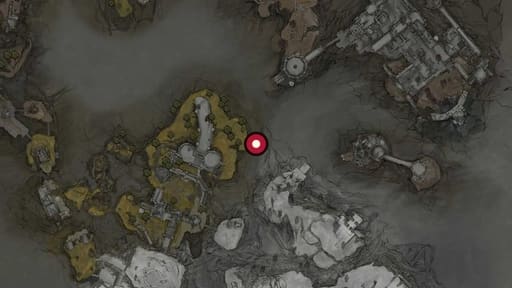
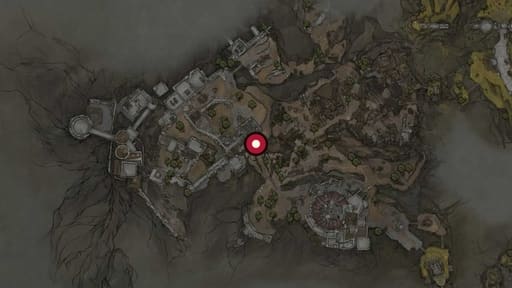
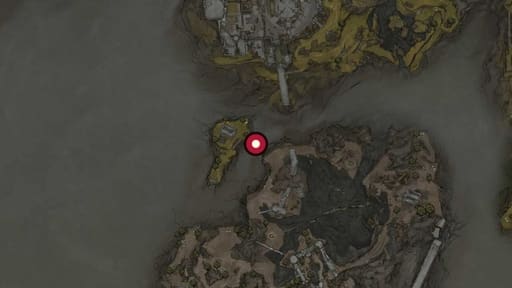
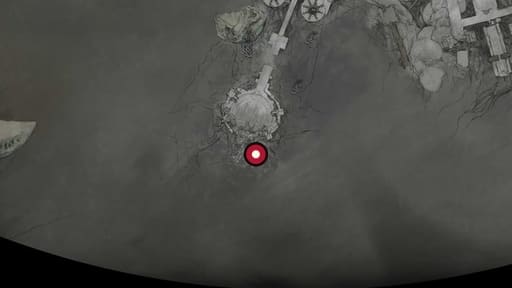
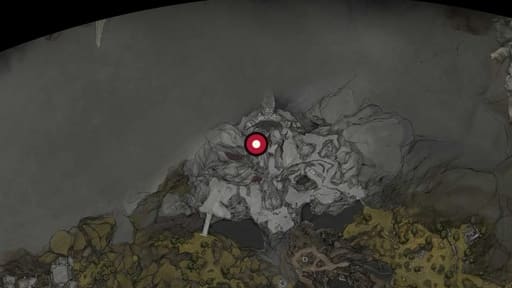
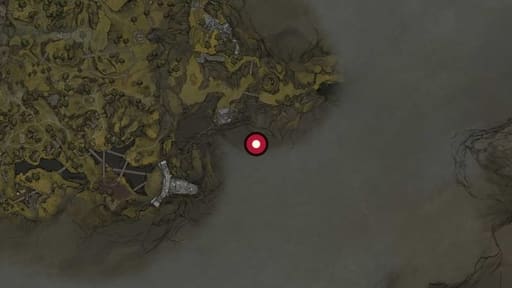
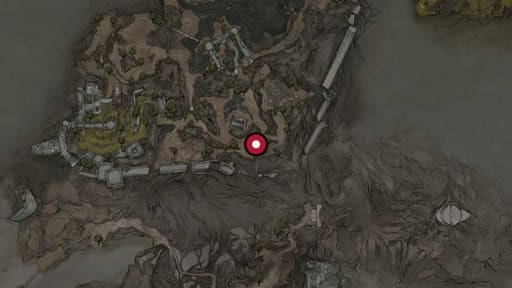
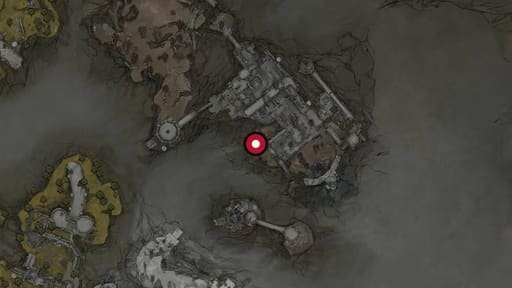
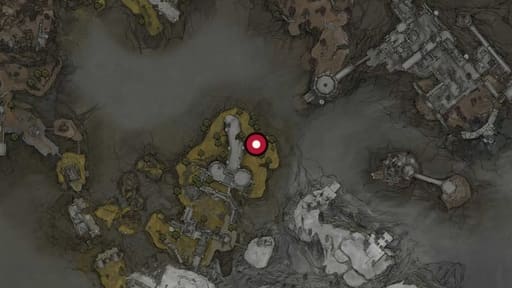
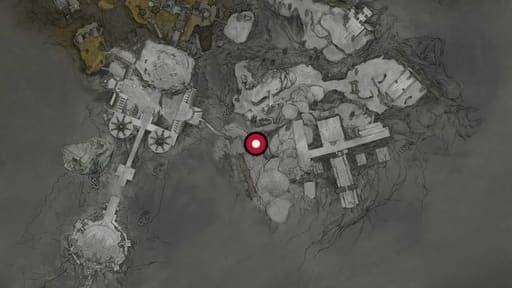
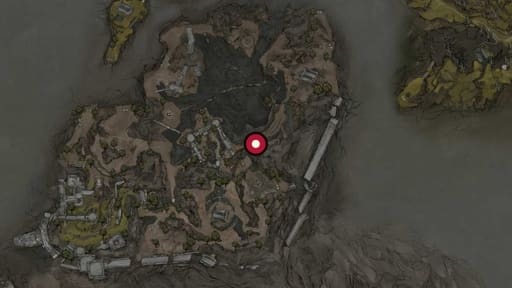
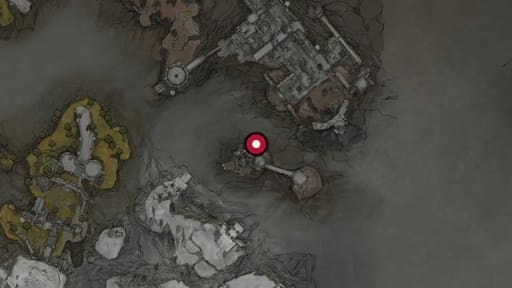
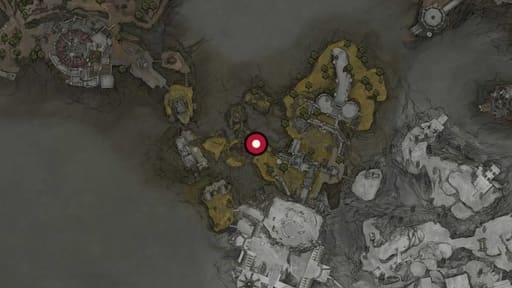
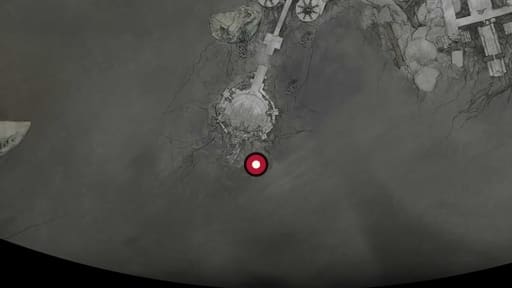
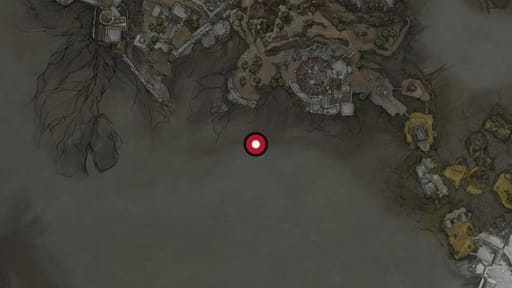
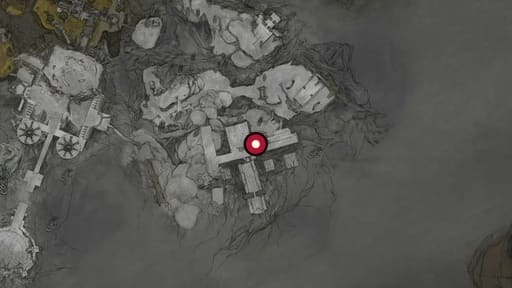
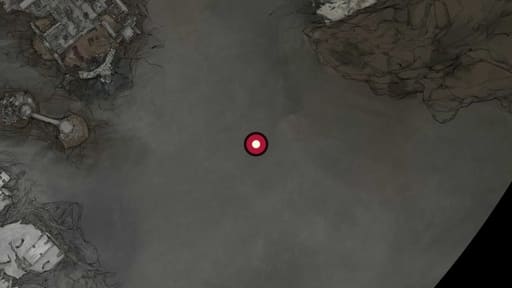
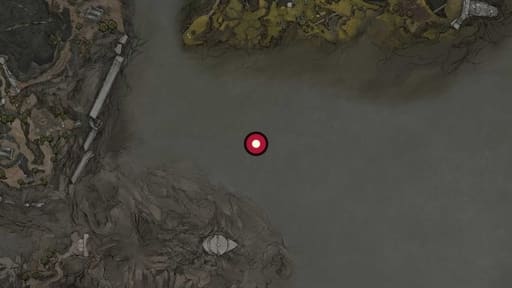
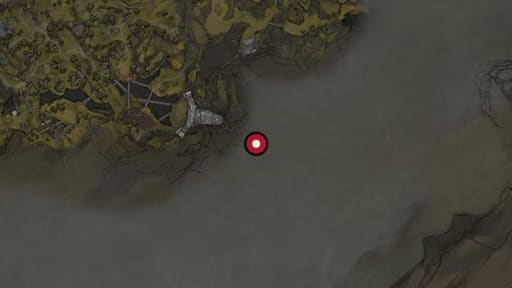
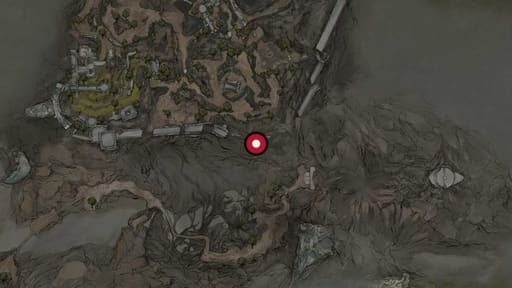
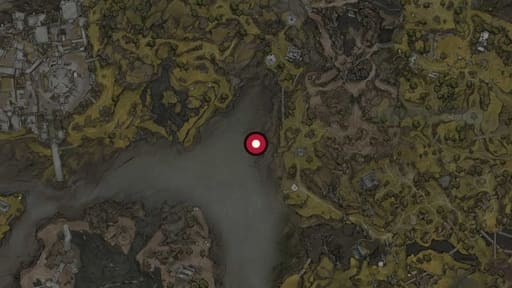
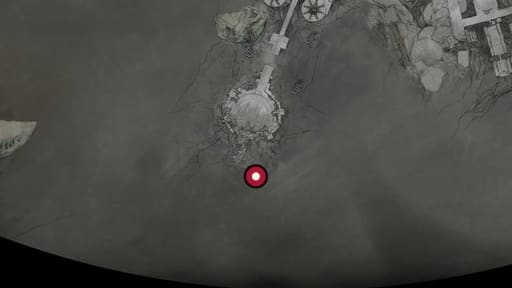
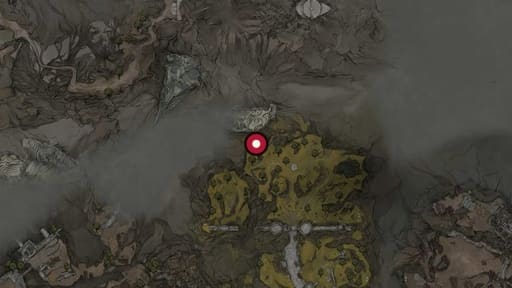
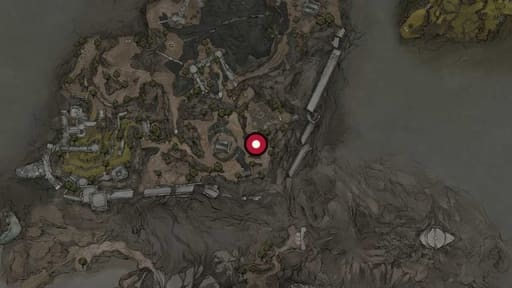
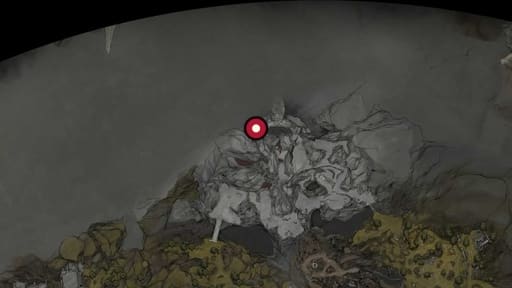
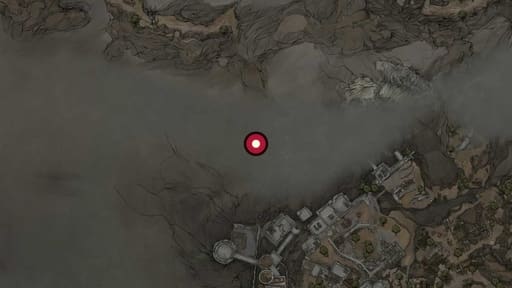
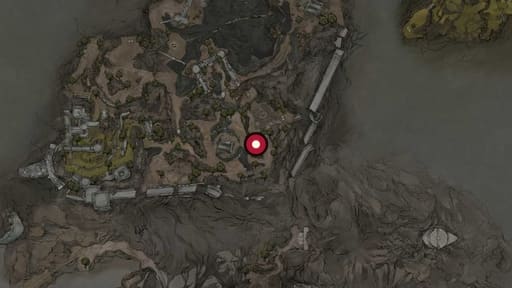
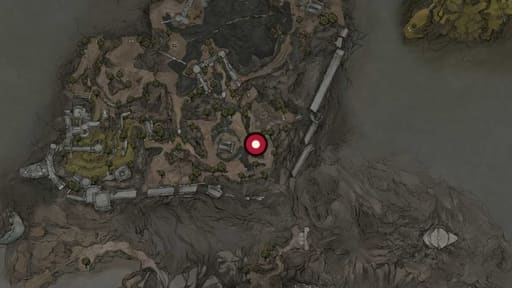
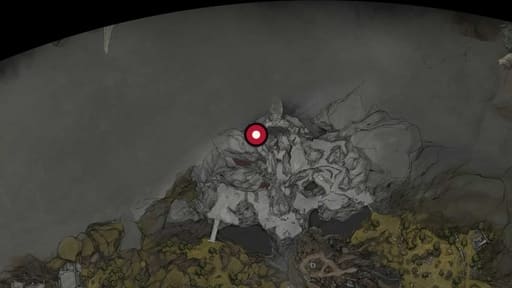
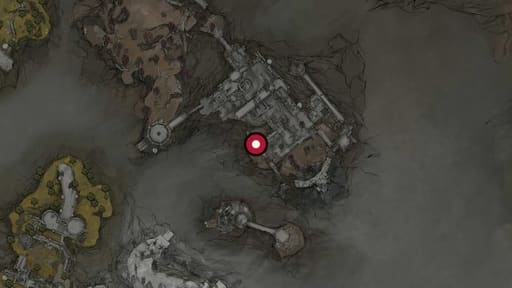
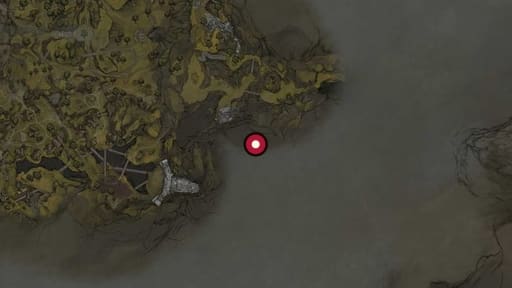
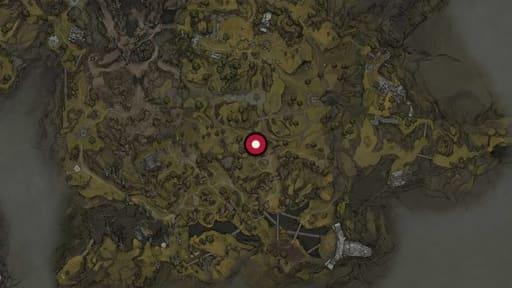
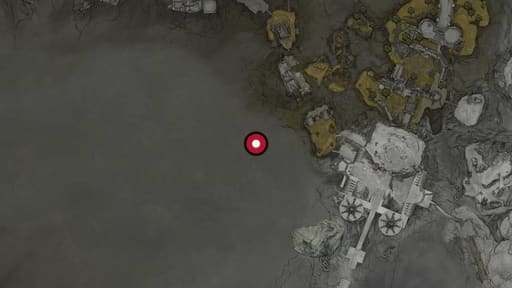
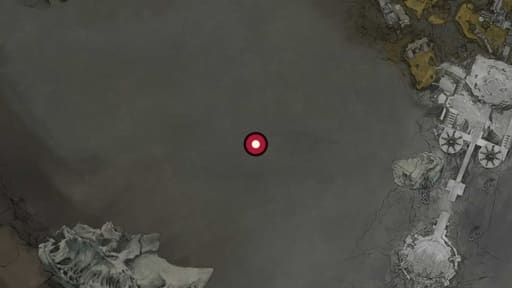
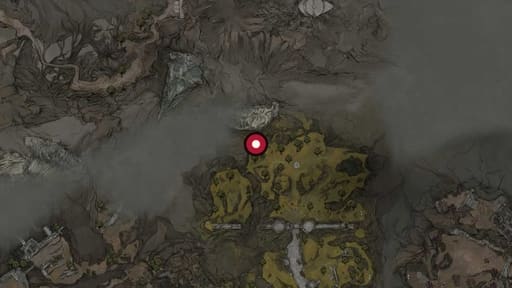
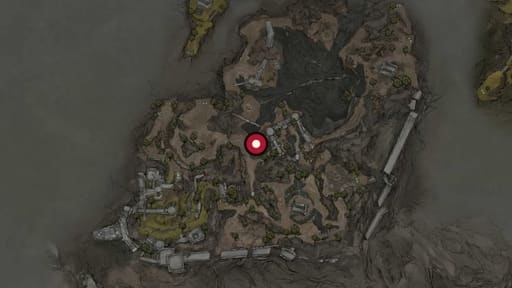
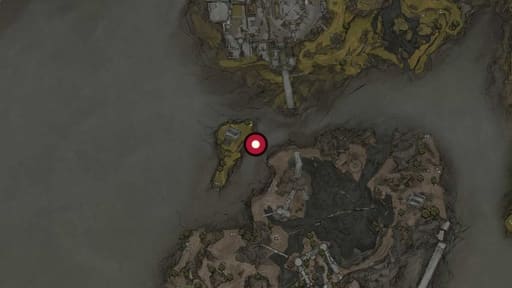
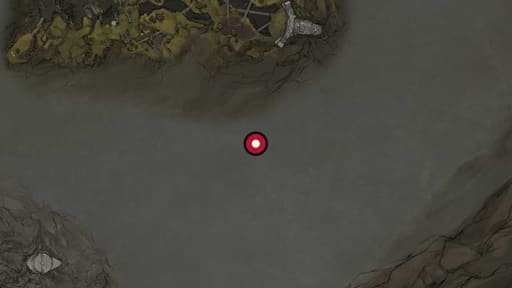
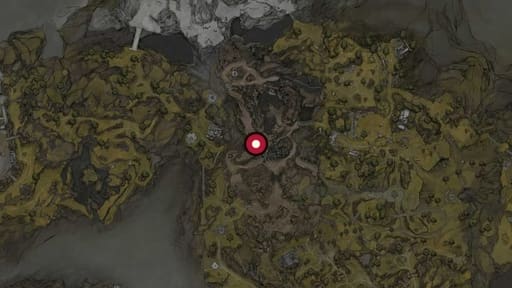
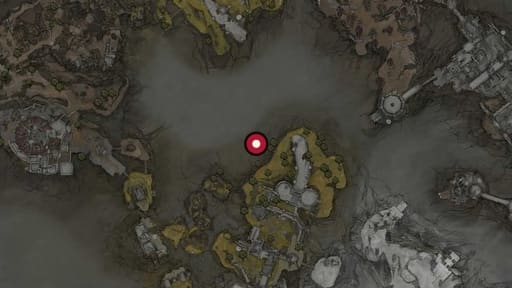
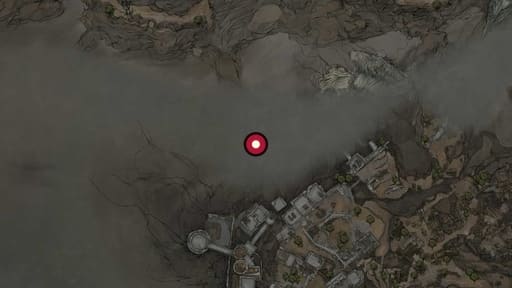
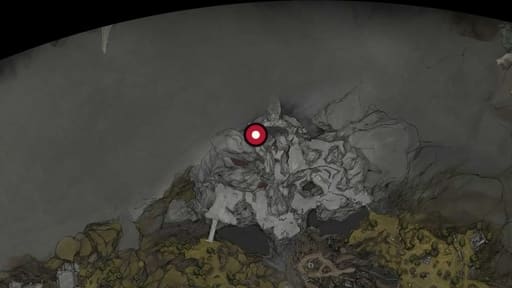
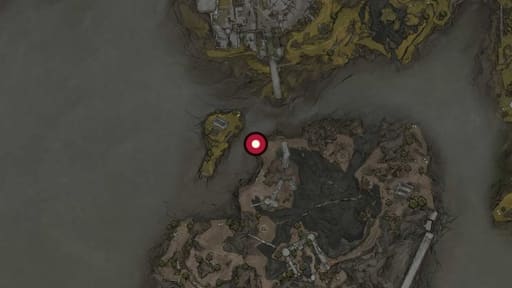
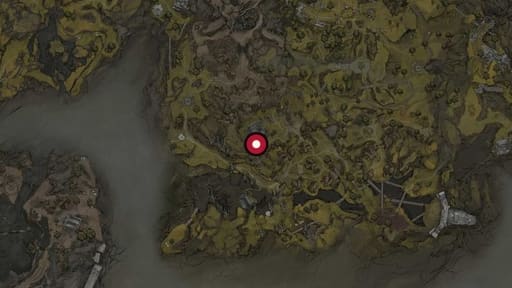
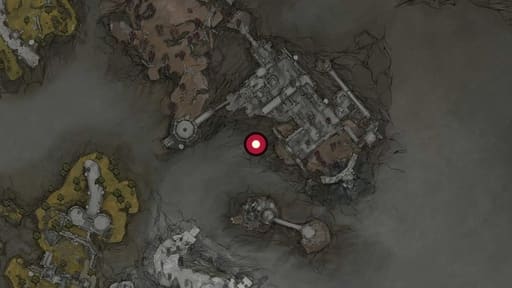
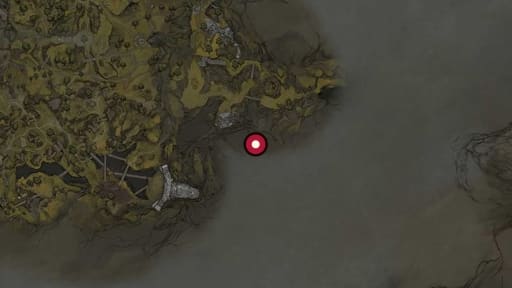
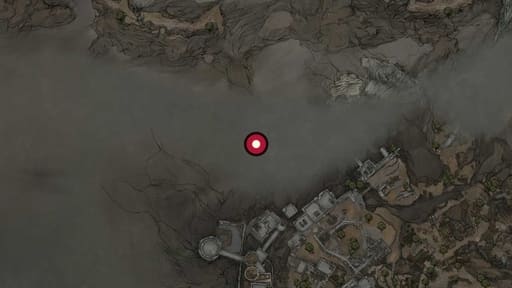
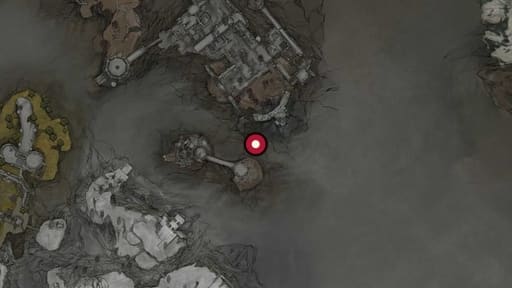
Every Tarstone in the game in one place — 75 of them, grouped by what they do, each with a screen of the spot so you can match the surroundings when you get there.

Interactive mapSee all 75 Tarstone pins on the overworldDrag to move, scroll to zoom, click a pin for the screen from that spot.

Combat Tarstones 21

  1. 16 Combat

    Stillblade’s Stone

    Combat Tarstone — pinned on the map.

  2. 2 Combat

    Charged Stone

    Combat Tarstone — pinned on the map.

  3. 6 Combat

    Enfeebling Stone

    Combat Tarstone — pinned on the map.

  4. 12 Combat

    Rupturing Stone

    Combat Tarstone — pinned on the map.

  5. 8 Combat

    Ironpiercer’s Stone

    Combat Tarstone — pinned on the map.

  6. 17 Combat

    Thief’s Stone

    Combat Tarstone — pinned on the map.

  7. 4 Combat

    Corroded Stone

    Combat Tarstone — pinned on the map.

  8. 13 Combat

    Shuddering Stone

    Combat Tarstone — pinned on the map.

  9. 11 Combat

    Pulse Stone

    Combat Tarstone — pinned on the map.

  10. 18 Combat

    Tyrant’s Stone

    Combat Tarstone — pinned on the map.

  11. 15 Combat

    Squall Stone

    Combat Tarstone — pinned on the map.

  12. 19 Combat

    Unstable Stone

    Combat Tarstone — pinned on the map.

  13. 9 Combat

    Myriad Stone

    Combat Tarstone — pinned on the map.

  14. 5 Combat

    Duality Stone

    Combat Tarstone — pinned on the map.

  15. 20 Combat

    Unyielding Stone

    Combat Tarstone — pinned on the map.

  16. 3 Combat

    Clerik’s Stone

    Combat Tarstone — pinned on the map.

  17. 7 Combat

    Grudge Stone

    Combat Tarstone — pinned on the map.

  18. 14 Combat

    Splitting Stone

    Combat Tarstone — pinned on the map.

  19. 21 Combat

    Wounding Stone

    Combat Tarstone — pinned on the map.

  20. 10 Combat

    Parasitic Stone

    Combat Tarstone — pinned on the map.

Infusion Tarstones 11
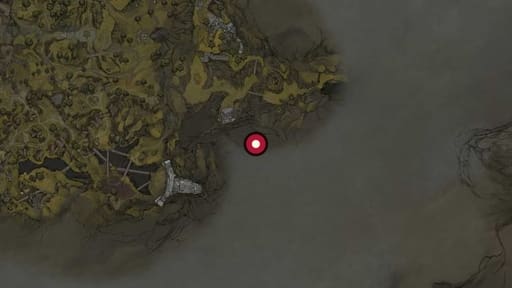
  1. 30 Infusion

    Warden’s Stone

    Infusion Tarstone — pinned on the map.

  2. 32 Infusion

    Wretchcaller’s Stone

    Infusion Tarstone — pinned on the map.

  3. 31 Infusion

    Weeping Stone

    Infusion Tarstone — pinned on the map.

  4. 27 Infusion

    Nightgrasp Stone

    Infusion Tarstone — pinned on the map.

  5. 24 Infusion

    Emberseed Stone

    Infusion Tarstone — pinned on the map.

  6. 26 Infusion

    Hag Stone

    Infusion Tarstone — pinned on the map.

  7. 29 Infusion

    Torpor Stone

    Infusion Tarstone — pinned on the map.

  8. 28 Infusion

    Serpent Stone

    Infusion Tarstone — pinned on the map.

  9. 23 Infusion

    Curseblood Stone

    Infusion Tarstone — pinned on the map.

  10. 25 Infusion

    Frostshard Stone

    Infusion Tarstone — pinned on the map.

  11. 22 Infusion

    Accursed Stone

    Infusion Tarstone — pinned on the map.

Support Tarstones 13

  1. 44 Support

    Siegebreaker's Stone

    Support Tarstone — pinned on the map.

  2. 33 Support

    Auspicious Stone

    Support Tarstone — pinned on the map.

  3. 38 Support

    Gloombound Stone

    Support Tarstone — pinned on the map.

  4. 43 Support

    Shattering Stone

    Support Tarstone — pinned on the map.

  5. 41 Support

    Marksman's Stone

    Support Tarstone — pinned on the map.

  6. 42 Support

    Retribution Stone

    Support Tarstone — pinned on the map.

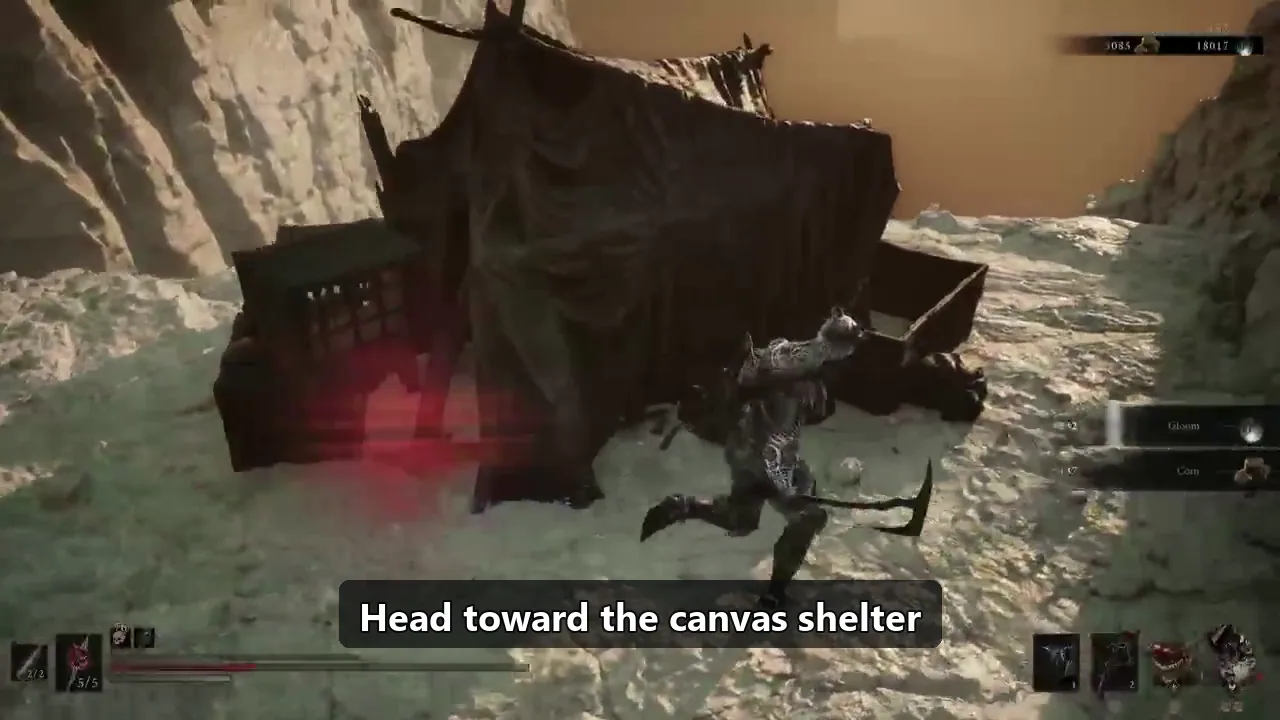
  7. 36 Support

    Deadeye Stone

    Search the camp by the Sanguine Caverns entrance

  8. 35 Support

    Bulwark Stone

    Support Tarstone — pinned on the map.

  9. 40 Support

    Justiciar's Stone

    Support Tarstone — pinned on the map.

  10. 34 Support

    Berserker’s Stone

    Support Tarstone — pinned on the map.

  11. 39 Support

    Headsman’s Stone

    Support Tarstone — pinned on the map.

  12. 37 Support

    Devout Stone

    Support Tarstone — pinned on the map.

  13. 45 Support

    Spite Stone

    Support Tarstone — pinned on the map.

Ability Tarstones 15

  1. 49 Ability

    Clockwork Shardstone

    Ability Tarstone — pinned on the map.

  2. 56 Ability

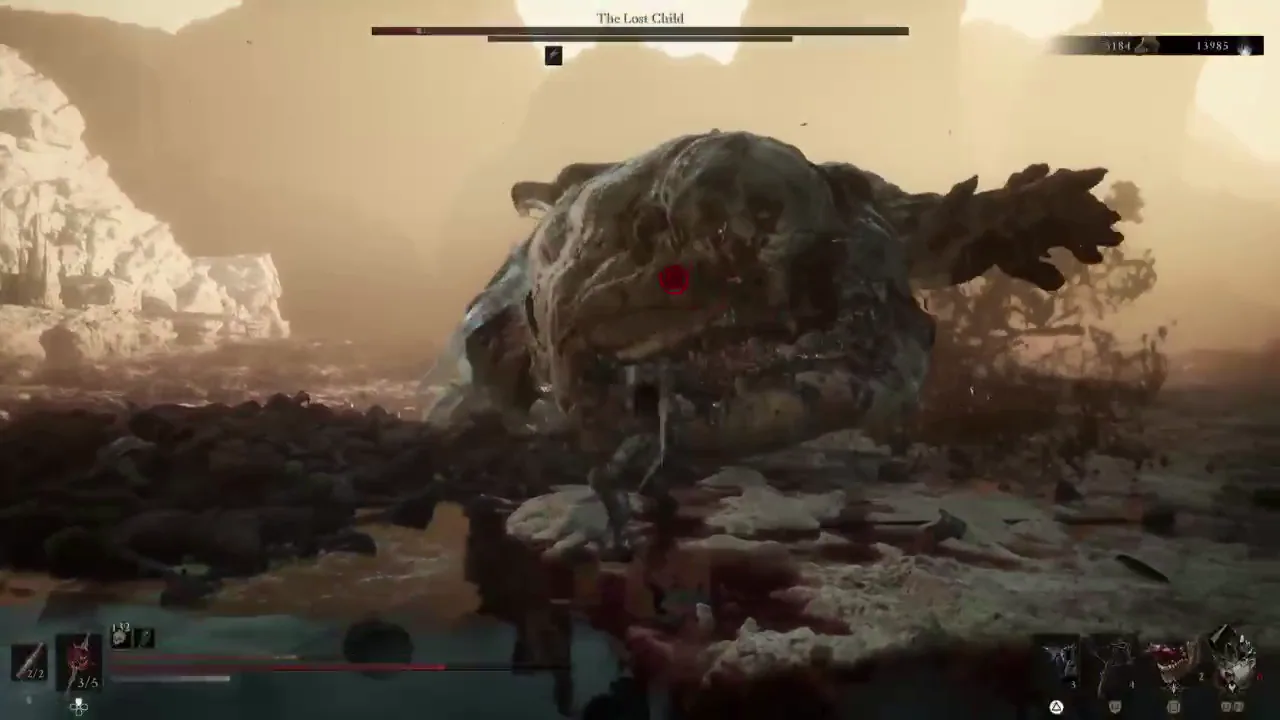
    Lost Clotstone

    Beat The Lost Child and use its weapon-throw reward

  3. 46 Ability

    Acolyte’s Stone

    Ability Tarstone — pinned on the map.

  4. 55 Ability

    Infused Stone

    Ability Tarstone — pinned on the map.

  5. 57 Ability

    Scholar’s Wormstone

    Ability Tarstone — pinned on the map.

  6. 48 Ability

    Captive’s Scabstone

    Ability Tarstone — pinned on the map.

  7. 53 Ability

    Infested Stone

    Ability Tarstone — pinned on the map.

  8. 51 Ability

    Fulminant Stone

    Ability Tarstone — pinned on the map.

  9. 59 Ability

    Summoning Stone

    Ability Tarstone — pinned on the map.

  10. 58 Ability

    Shrike Stone

    Ability Tarstone — pinned on the map.

  11. 52 Ability

    Fusillade Stone

    Ability Tarstone — pinned on the map.

  12. 50 Ability

    Colossus Stone

    Ability Tarstone — pinned on the map.

  13. 47 Ability

    Barrage Stone

    Ability Tarstone — pinned on the map.

  14. 54 Ability

    Inflamed Clawstone

    Ability Tarstone — pinned on the map.

  15. 60 Ability

    Unwieldy Stone

    Ability Tarstone — pinned on the map.

Further Stones 15

These carry a name and a place on the map, but the game does not file them under one of the four upgrade types, so we list them together.
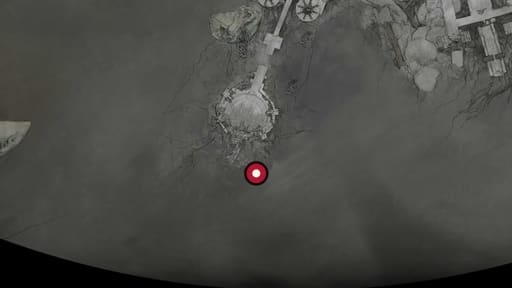
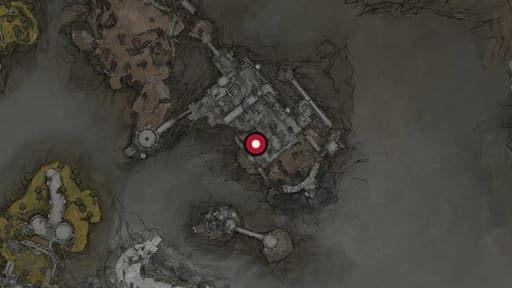
  1. 70 Unclassified

    Tarred Fragment

    Pinned on the map.

  2. 75 Unclassified

    Zealot’s Stone

    Pinned on the map.

  3. 65 Unclassified

    Hexapod Core

    Pinned on the map.

  4. 73 Unclassified

    Voltaic Amber

    Pinned on the map.

  5. 74 Unclassified

    Voltaic Crown

    Pinned on the map.

  6. 68 Unclassified

    Solnir Shard

    Pinned on the map.

  7. 69 Unclassified

    Strange Remnant

    Pinned on the map.

  8. 64 Unclassified

    Hand of Rock

    Pinned on the map.

Video guides for individual stones

Each of these opens the run where we picked the item up, so you can watch the approach instead of following a written route. We add one as each recording is reviewed — the list covers the 5 runs captured so far, including one key item that sits alongside a Tarstone chain.
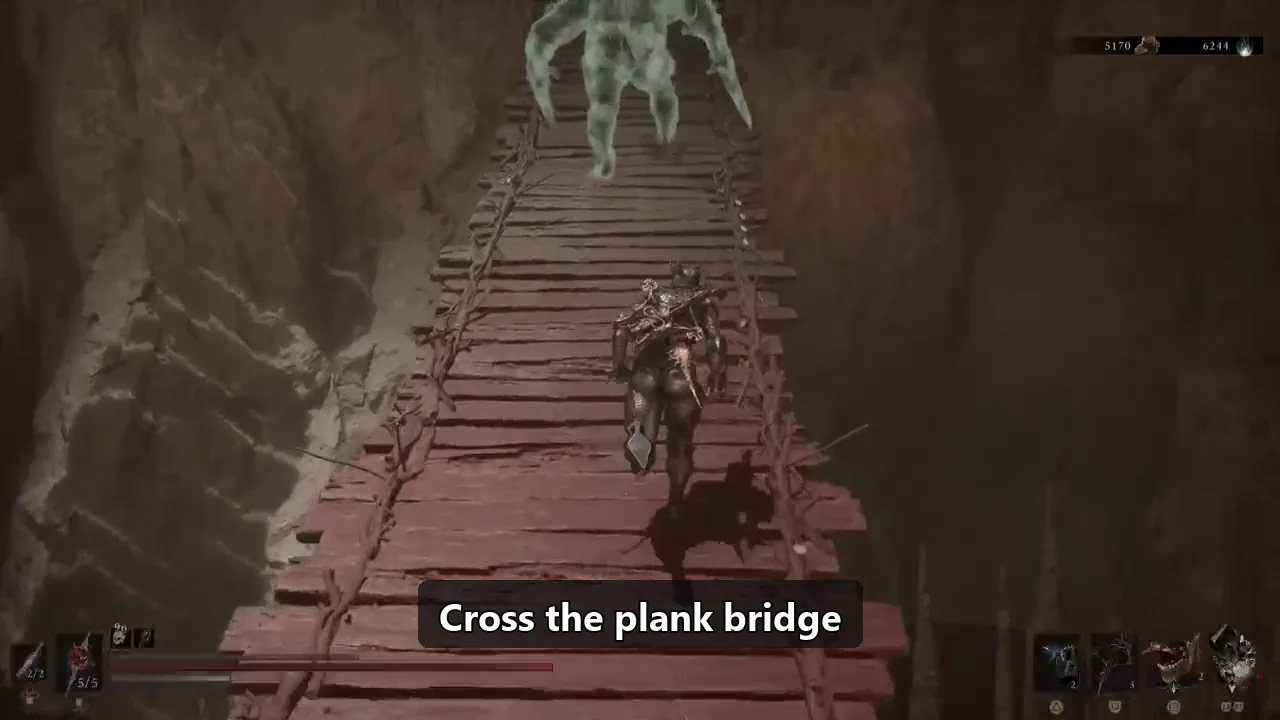
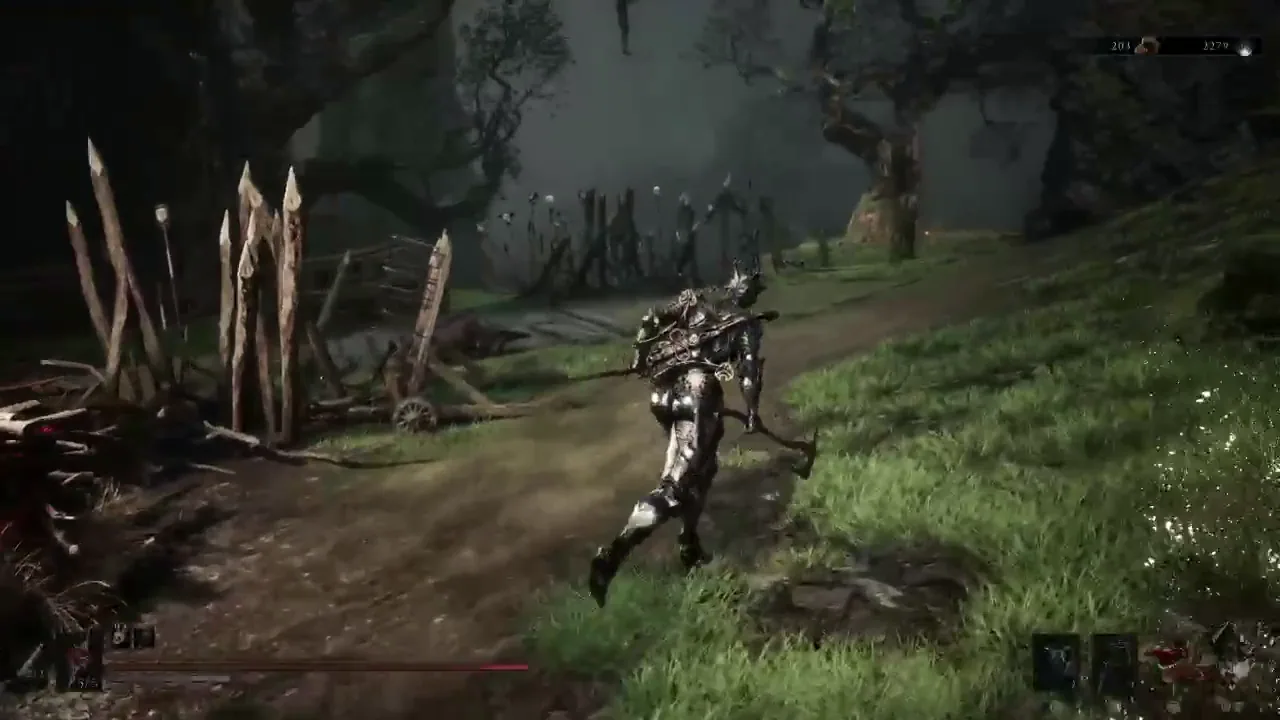
  1. Blackblood Stone

    Cross Mawbreak Cavern to the Tarstone chest

  2. Foundry Stone

    Unlock equipment upgrade refunds at the Tarforge

  3. Deadeye Stone

    Search the camp by the Sanguine Caverns entrance

  4. Lost Clotstone

    Beat The Lost Child and use its weapon-throw reward

How to upgrade Tarstones

A Tarstone only starts working once it is etched, and etching needs the Etching Needle. Pick up the stone, take it to the upgrade point, and it locks to the weapon or sidearm you choose — so check the slot before you commit.

Where to find the Etching Needle

The Needle comes from the Trial at the start of the Tarstone chain. Finish the Trial, take the Needle, then return to any stone you have already found to etch it.

Screens on this page show where each stone sits. They are not a substitute for the in-game map, which reveals more as you collect fragments.

Looking for the rest of the wiki? Equipment,Character and Guides cover the other systems. Or open the full interactive map for every pin at once.