
Open a Useful Soft Breach with Sledge
On this page
Decide what you want Sledge’s opening to do before swinging the hammer. A view into the next room and a path you intend to cross are different jobs. This guide covers the Breaching Hammer in Rainbow Six Siege X on PC, during standard 5v5 rounds.
Match the hammer to the surface
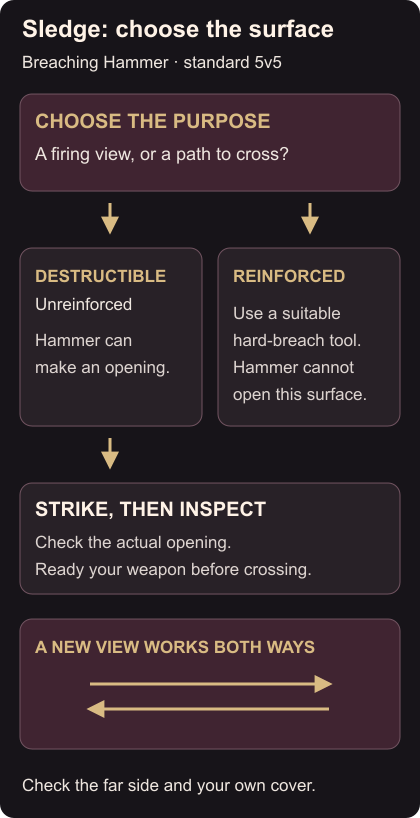
Sledge is a soft breacher. His Caber Breaching Hammer opens non-reinforced surfaces to create firing views and entry points. Sledge’s breaching role
Look for a destructible wall, floor or barricade. Reinforced and indestructible surfaces won’t become useful openings just because you keep swinging. The hammer also has limited durability. Hammer limits
When the wall you need is reinforced, coordinate with a hard breacher instead. The Thermite wall guide covers that job. Save Sledge’s attention for an opening his hammer can make and that the team can use.
Choose your position before opening
Ask what the hole will expose on both sides. If you want a firing view, choose where you will stand to use it. If you want to enter, identify the cover you could reach after crossing. Opening the wall doesn’t tell you whether the room beyond is clear.
Use the information your team already has, and ask a teammate to watch the approach when possible. Check where allies are standing before changing a wall or floor beside them. A new sightline may expose their position as well as yours.
Approach with nearby cover in mind. At a suitable close position, use your configured Breaching Hammer control to strike the intended surface. Inspect the result and ready your weapon before moving through. Using the hammer involves a close approach and a brief gear transition, so don’t plan on responding as if your weapon were already ready. Sledge’s hammer use
Inspect the first hole before making another
Look through from a position where you can retreat. Check whether the opening gives the view or passage you wanted. If only part of the surface has broken, assess what remains before deciding on another strike.
For a floor opening, identify the level below before you start. Only destructible flooring is a suitable target. Avoid opening random floor sections when you don’t know what the resulting view is meant to accomplish.
After the first hole, check your sides and the route behind you. Staring downward through a new opening can take your attention away from an opponent approaching on your own level. A teammate watching that approach can help you concentrate on the intended angle.
The Rook armour guide explains one part of defender preparation. Keep that preparation in mind when assessing the room you’ve opened; a breach is the start of a new view into the defence.
Practise one deliberate opening
In a quiet custom session, choose one destructible wall or barricade. State whether you want to see through it or cross it, then make an opening and inspect the result from both sides. Try a destructible floor separately when one is available.
In your next round, review one hammer use. Did you choose the right material, gain a useful view and ready your weapon before moving? Fix the first failed step before opening more surfaces.