
Plan Reinhardt's Charge Before Leaving Your Team
On this page
Plan where Reinhardt will finish before pressing Charge. Reaching an opponent can leave you surrounded and out of reach of your team. These core Charge and Barrier Field decisions apply on PC in Quick Play and Competitive; use your configured ability bindings.
Look past the target
Charge sends Reinhardt forward and can smash an enemy against a wall. Check the target, the wall behind them and the space around it. Charge
A short, visible path near your team is easier to judge than a chase across a busy room, but check for enemies waiting beside the destination. Consider a miss too: if the target moves away, would the same path leave you somewhere useful? Keep Charge available when either outcome strands you.
Check whether help can reach you
Look at your teammates before committing. A nearby support may struggle to help once you round a corner, and allies may be fighting someone else.
When possible, tell the team you intend to move, then check their positions instead of assuming they’ll follow. Delay if the destination separates you from their fight. Identify nearby cover and where you’ll face after arriving.
Hold useful space while you wait
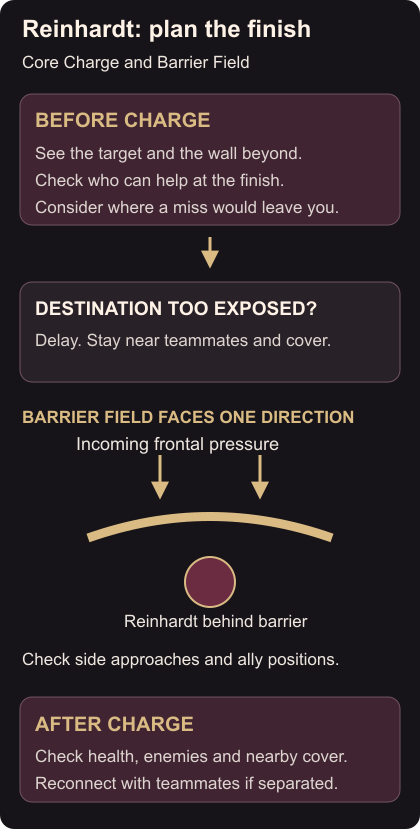
Barrier Field deploys a frontal energy barrier while you hold secondary fire. Barrier Field Face the pressure you intend to cover and check that teammates are behind it. Turning toward another threat leaves a different direction exposed.
Stay near cover. If an enemy moves to the side, reassess your position as well as your facing.
Rocket Hammer is a melee weapon, while Fire Strike gives Reinhardt a projectile attack. Hammer and Fire Strike Against an opponent beyond hammer reach, consider whether Fire Strike lets you contribute while staying with your team.
Practise the finish, then review it
In a quiet custom session, pick a starting point and a visible wall. Trace the intended path with your view, Charge, then inspect the finish. Try another approach. A friend can observe where they’d need to stand to remain nearby.
After a Charge in a match, check your health, nearby opponents and the route back to teammates before chasing farther.
The Mercy landing guide covers support movement. The Ana grenade guide explains the healing decision your Charge may create.